Gluten Free Old Fashioned Candy Cane Cookies

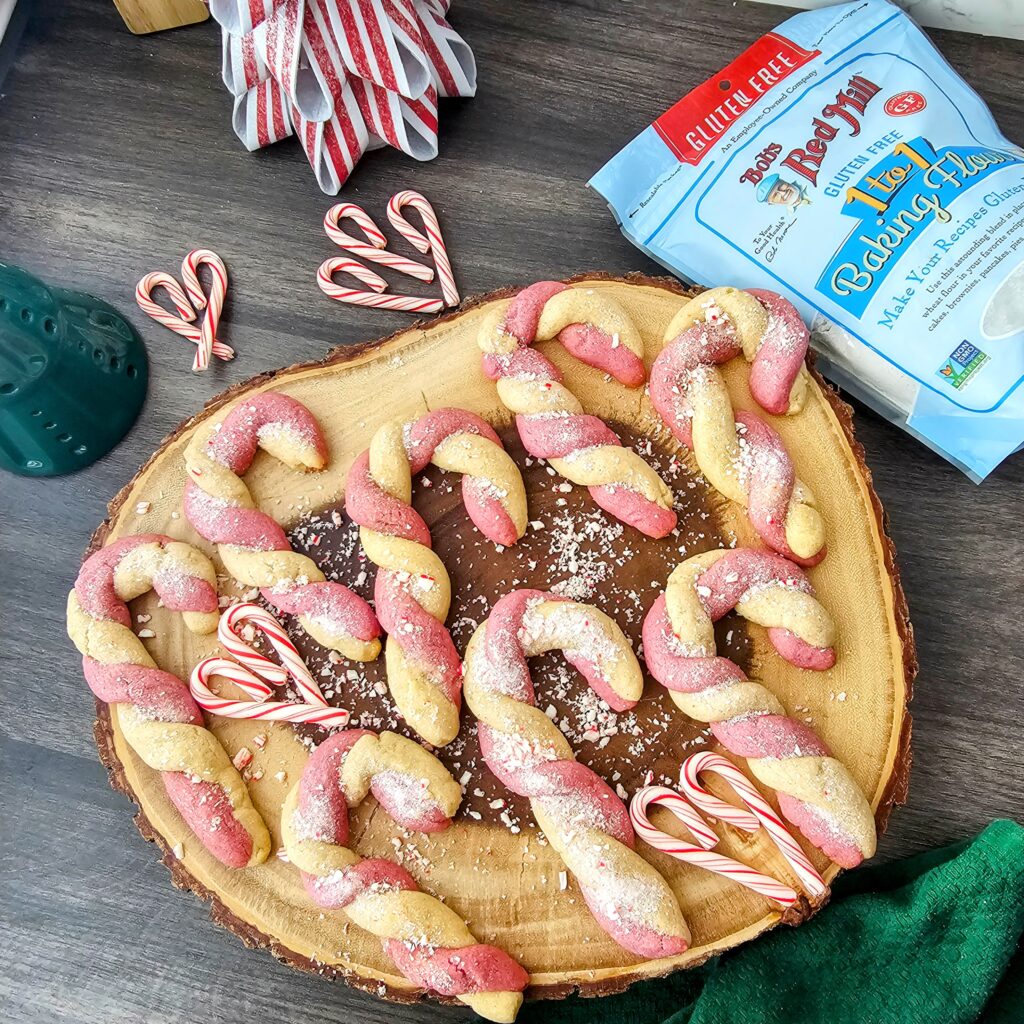
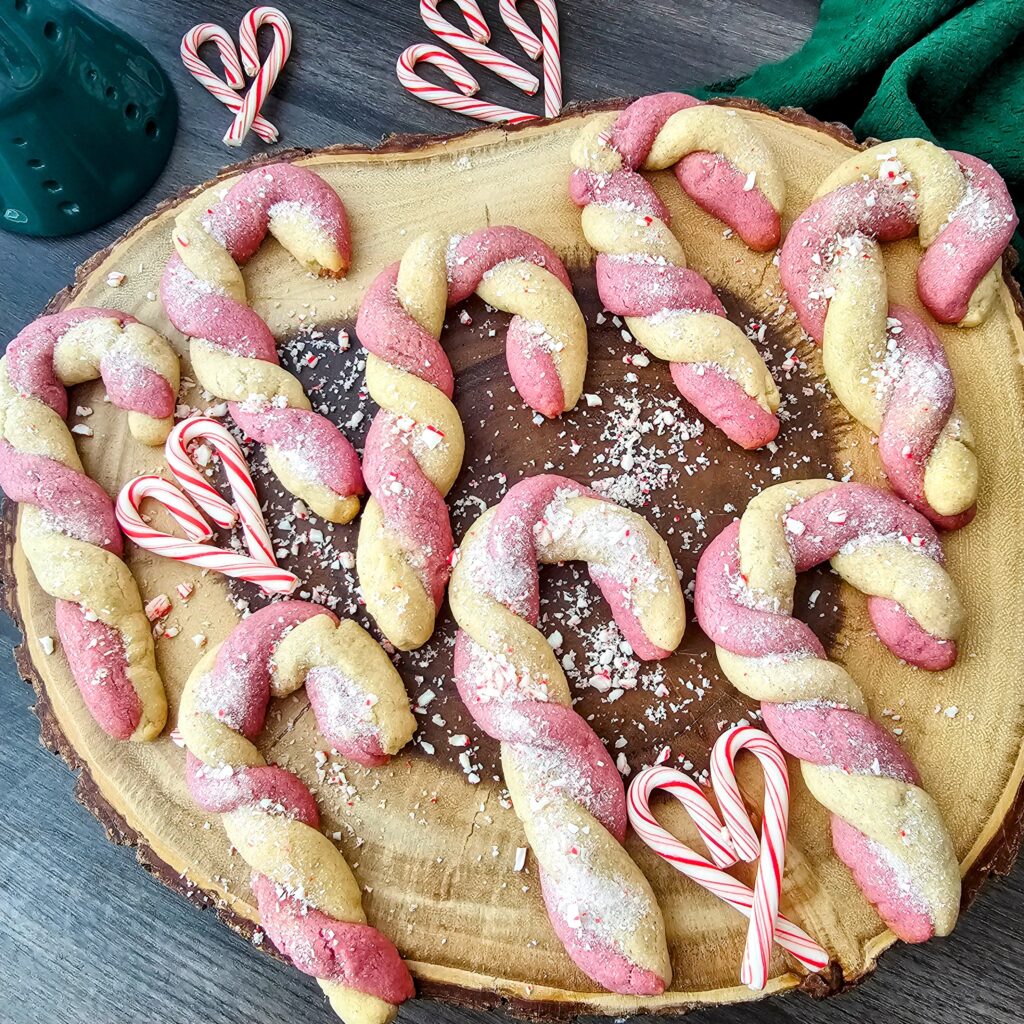
There’s something so classic about candy cane cookies. They’re crisp but tender, with a crumbly, buttery texture that almost melts in your mouth. The swirl of the red and white dough is as eye-catching as it is festive. And of course, that unmistakable peppermint crunch—a gentle bite into the cookie releases just the right amount of sweetness, paired with a cool, refreshing peppermint finish that brings back memories of sipping hot cocoa by the fire. These cookies are perfect for gifting, sharing with family, or just enjoying as you cozy up with your favorite holiday movie.

The dough itself is incredibly soft, slightly crumbly, and melts in your mouth. The red and white twisted ropes hold their shape beautifully in the oven, and the sparkling peppermint sugar coating gives them that final festive touch. And when you take that first bite, the peppermint crunch hits you just right, without being overwhelming—it's the perfect blend of sweet, minty, and buttery. 🌟

How to Make My Old Fashioned Candy Cane Cookies
- Prepare the dough:
In a large bowl, beat together the butter, granulated sugar, powdered sugar, vanilla extract, peppermint extract, and egg until the mixture is light and fluffy. The moment you mix in the peppermint extract, your kitchen will be filled with that unmistakable holiday scent, and you’ll feel like you’re right in the middle of a cozy holiday baking session. Slowly add the Bob’s Red Mill 1:1 Gluten-Free Flour, baking powder, and salt. The dough should be soft, a little sticky, and just slightly crumbly—don’t worry, that’s perfect! - Divide and color:
Divide the dough in half. To one half, add a few drops of red food coloring gel and mix until the dough becomes a vibrant red—this adds the festive twist that makes these cookies so special. Wrap both portions of dough in plastic wrap and refrigerate for 3-4 hours (or overnight if you’re planning ahead). Chilling the dough is a crucial step—this ensures the dough firms up enough to shape and that the cookies hold their iconic twisted shape. - Prepare the peppermint sugar:
In a small bowl, mix together the crushed peppermint candies and 2 tablespoons of granulated sugar. This combination gives your cookies that extra crunch and burst of peppermint flavor that really makes them stand out. The sugar also adds a little sparkle, so your cookies will shine like little holiday treasures. - Preheat the oven:
Preheat your oven to 350°F (175°C). Line your baking sheet with parchment paper. The dough will be soft and slightly delicate, so parchment will help prevent sticking and make for an easier cleanup. - Shape the cookies:
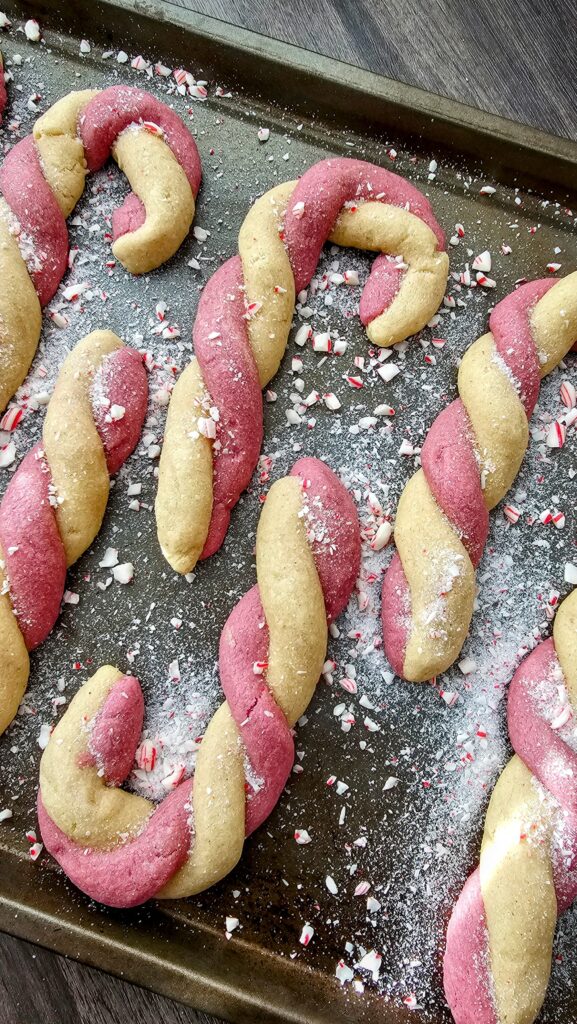
Take a teaspoon-sized portion of both the red and plain dough. Roll each portion into a 5-inch rope, then twist them together gently to form a candy cane shape. The red and white swirl will make these cookies look just like the classic candy canes we all know and love. Be sure to press the ends of the ropes together firmly, so they don’t separate during baking. Each cookie will have that perfect balance of red and white in every bite. - Bake and decorate:
Place the shaped cookies onto the ungreased baking sheet, leaving about 2 inches between each one. Bake for 8-10 minutes, or until the edges are lightly golden brown. As they bake, your home will fill with the irresistible smell of butter and peppermint—a scent that’s just as comforting as the taste. After removing the cookies from the oven, sprinkle them generously with the peppermint sugar mixture while they’re still warm. The sugar will adhere perfectly, adding that sparkling finish that makes them extra festive. - Cool:
Let the cookies cool on the baking sheet for a few minutes, then transfer them to a wire rack to cool completely. You can already picture yourself nibbling on these delicious cookies with a cup of hot cocoa, can’t you? 😌
Pro Tip: To take these cookies to the next level, drizzle them with some melted white chocolate after they cool. The rich, creamy chocolate pairs perfectly with the cool peppermint and adds a touch of sweetness to every bite. ✨

Enjoy!
These Gluten-Free Old-Fashioned Candy Cane Cookies are so much more than just a treat. They are a way to bring the spirit of the holidays into your home. The crisp edges, soft centers, and that burst of peppermint are sure to make these cookies a new tradition in your family, just like they are in mine. 💫
Find @BobsRedMill gluten-free flours at your nearest grocer to bring these cookies (and memories) into your home. 🎅🏻
These cookies aren’t just a holiday treat—they’re a moment. A moment to slow down, bake with your loved ones, and indulge in the flavors of the season. Let me know how your batch turns out in the comments below! 💬 Happy baking!
- 1 cup butter (softened (the key to that soft, melt-in-your-mouth texture))
- 1 cup granulated sugar
- 1/4 cup powdered sugar (for a subtle sweetness and smooth texture)
- 1 teaspoon vanilla extract (a comforting base flavor)
- 1 teaspoon peppermint extract (for that refreshing holiday flavor)
- 1 large egg
- 2 1/2 cup gluten free flour (I use Bob's Red Mill 1:1 Gluten Free Flour, this blend gives the cookies the perfect crumb)
- 1 teaspoon baking powder (for lift)
- 1/2 teaspoon salt (enhances the flavor)
- red food coloring (I use dye free)
- 2 tbsp finely crushed candy canes (for extra minty crunch)
- 2 tbsp granulated sugar (to sweeten the peppermint crunch and add a little sparkle)
- Prepare the dough:
In a large bowl, beat together the butter, granulated sugar, powdered sugar, vanilla extract, peppermint extract, and egg until the mixture is light and fluffy. The moment you mix in the peppermint extract, your kitchen will be filled with that unmistakable holiday scent, and you’ll feel like you’re right in the middle of a cozy holiday baking session. Slowly add the Bob’s Red Mill 1:1 Gluten-Free Flour, baking powder, and salt. The dough should be soft, a little sticky, and just slightly crumbly—don’t worry, that’s perfect!
- Divide and color:
Divide the dough in half. To one half, add a few drops of red food coloring gel and mix until the dough becomes a vibrant red—this adds the festive twist that makes these cookies so special. Wrap both portions of dough in plastic wrap and refrigerate for 3-4 hours (or overnight if you’re planning ahead). Chilling the dough is a crucial step—this ensures the dough firms up enough to shape and that the cookies hold their iconic twisted shape.
- Prepare the peppermint sugar:
In a small bowl, mix together the crushed peppermint candies and 2 tablespoons of granulated sugar. This combination gives your cookies that extra crunch and burst of peppermint flavor that really makes them stand out. The sugar also adds a little sparkle, so your cookies will shine like little holiday treasures.
- Preheat the oven:
Preheat your oven to 350°F (175°C). Line your baking sheet with parchment paper. The dough will be soft and slightly delicate, so parchment will help prevent sticking and make for an easier cleanup.
- Shape the cookies:
Take a teaspoon-sized portion of both the red and plain dough. Roll each portion into a 5-inch rope, then twist them together gently to form a candy cane shape. The red and white swirl will make these cookies look just like the classic candy canes we all know and love. Be sure to press the ends of the ropes together firmly, so they don’t separate during baking. Each cookie will have that perfect balance of red and white in every bite.
- Bake and decorate:
Place the shaped cookies onto the ungreased baking sheet, leaving about 2 inches between each one. Bake for 8-10 minutes, or until the edges are lightly golden brown. As they bake, your home will fill with the irresistible smell of butter and peppermint—a scent that’s just as comforting as the taste. After removing the cookies from the oven, sprinkle them generously with the peppermint sugar mixture while they’re still warm. The sugar will adhere perfectly, adding that sparkling finish that makes them extra festive.
- Cool:
Let the cookies cool on the baking sheet for a few minutes, then transfer them to a wire rack to cool completely. You can already picture yourself nibbling on these delicious cookies with a cup of hot cocoa, can’t you?


